Step 1: Create a Digital Image
Step 2: Archive the Original Image
Step 3: Preliminary Sort
Step 4: Edit, Enhance & Restore
Step 5: Identification
Step 6: Finalize Organization
Step 7: Share
The second step in the process is archive the original photograph.
Of all the steps in the process Step 1: Create a Digital Image and Step 2:
Archive the Original Image are the most critical. Step 1 ensures that a copy of
the original photograph exists and step 2 ensures that the original photograph is
properly preserved and stored. Proper preservation
ensures that the photographs can be handed down to the next generation of
researchers.
The Materials
The first step is to use quality archive materials. In order
to protect the original photographs it is important to use the correct
materials for storage. The recommended method is to store photographs in
individual sleeves. Photographs taken at
different times can contain different chemicals. Storing the photos in sleeves
will ensure that the chemicals from one photo do not leach into another and
cause damage. An acid free backing board can be used for old photographs that
are very fragile. After placing the photographs in sleeves, the photographs should
be stacked on their ends in archival boxes that are acid free. Storing an old photo on the end reduces the
amount of pressure on the image.
After some research I opted to purchase products from Bags Unlimited.
Bags Unlimited was great and answered my questions when I called seeking
advice. Their line of polypropylene sleeves, acid
free backing boards and storage boxes are designed to work as a system. There
is also an option to purchase dividers which can be used with to organize photographs
within storage boxes. The prices were
affordable and I was pleased with the quality of the products.
If this step appears over whelming – one way to
start would be to take old photographs that are currently sitting in piles,
place them in sleeves and store on their ends.
The photographs can then be viewed, studied or sorted at a later time.
The preliminary use of dividers allows the option to maintain the original
piles or groupings in the storage boxes.
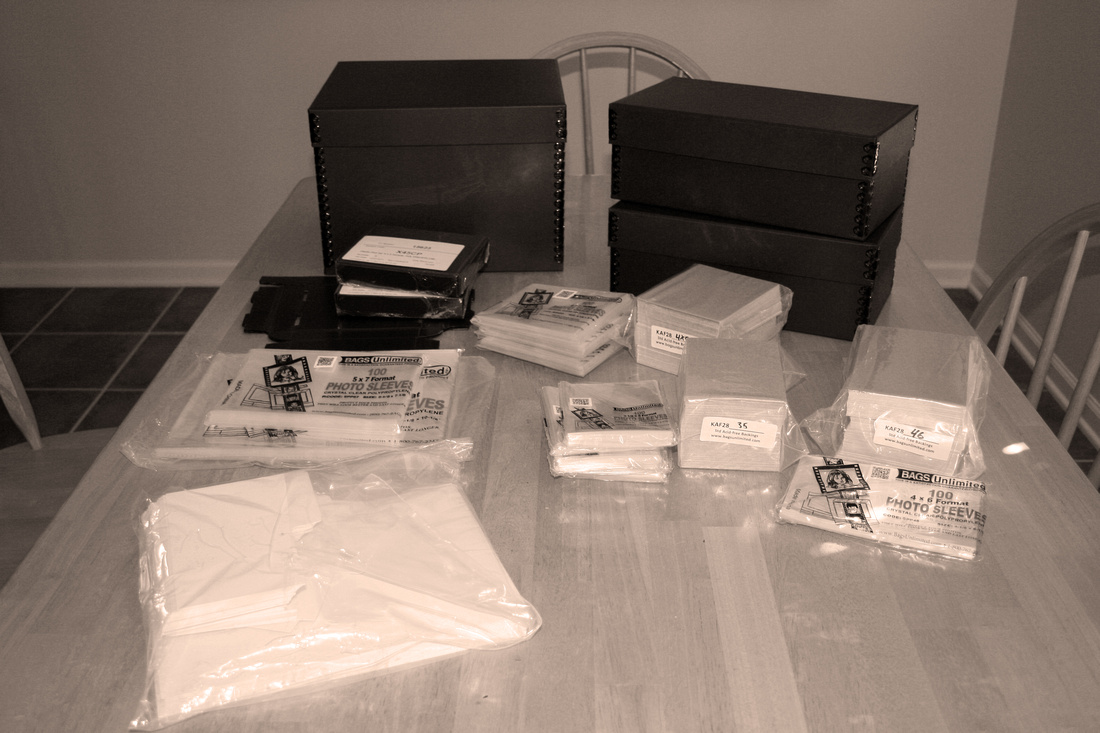 |
| Archive supplies in a range of sizes |
The collections in my care feature many photographs there are some that are over one
hundred years old. It is very important to purchase the correct materials. Note that different types of sleeve materials are available. Be
sure to check with the manufacturer that the sleeve material you intend to use
is appropriate for your storage method.
Many of my old photographs are small. I opted to order a
range of polypropylene sleeve sizes including 3-1/2x5, 4x5 and 4x6. All three
sleeve sizes store nicely in the 4x6 archive box. I also opted to order one large 8-1/2x 11archive box. This box allows me to storage larger 8-1/2x11 photographs, 5x7
photographs and other odd sized photographs. I also opted to order 8x10 polypropylene sleeves and 5x7 polypropylene sleeves.
Handling the Photos
It is very important to make sure that your hands are clean
when you handle photographs. Minimizing the amount of contact is important to
ensure that oil and finger prints are not transferred to the photographs.
If you have a large quantity of photographs to sort through
consider getting white cotton gloves that archivists use. These will allow the photographs
to be handled without the risk of adding finger prints.
Moving from Chaos to
Order
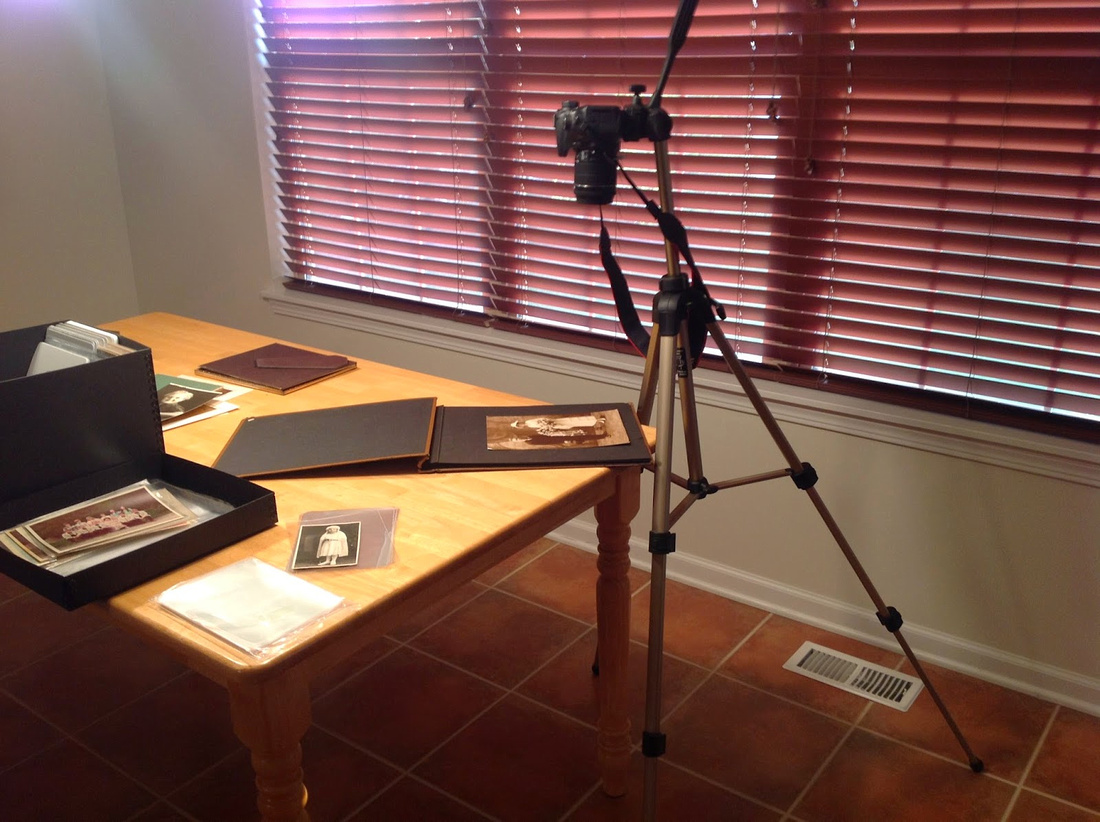
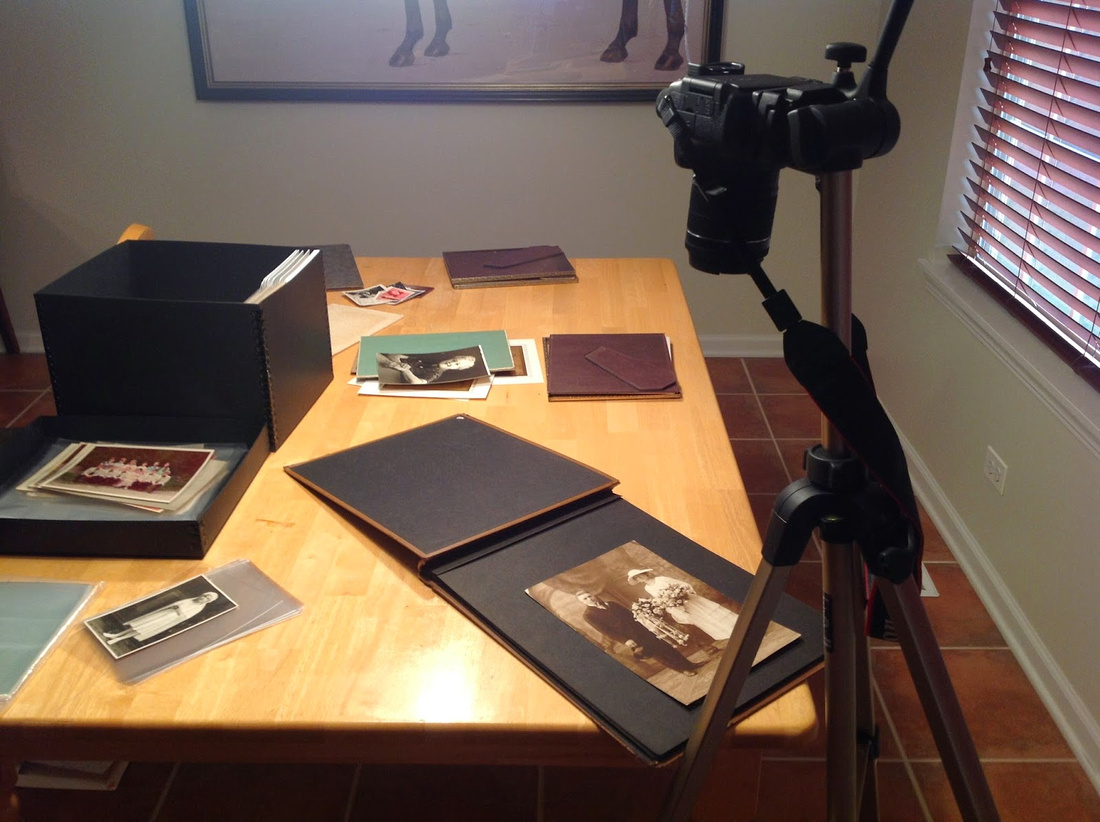
The workflow I am currently using is to re-photograph
the original image as described in Step 1: Create a Digital Image. After taking
a photograph of the original I place the original photograph in a polypropylene
sleeve and store the photo in the archive boxes. Photographing the originals before placing in
sleeves minimizes the contact with the original photograph.
 |
| Old photographs in the original piles |
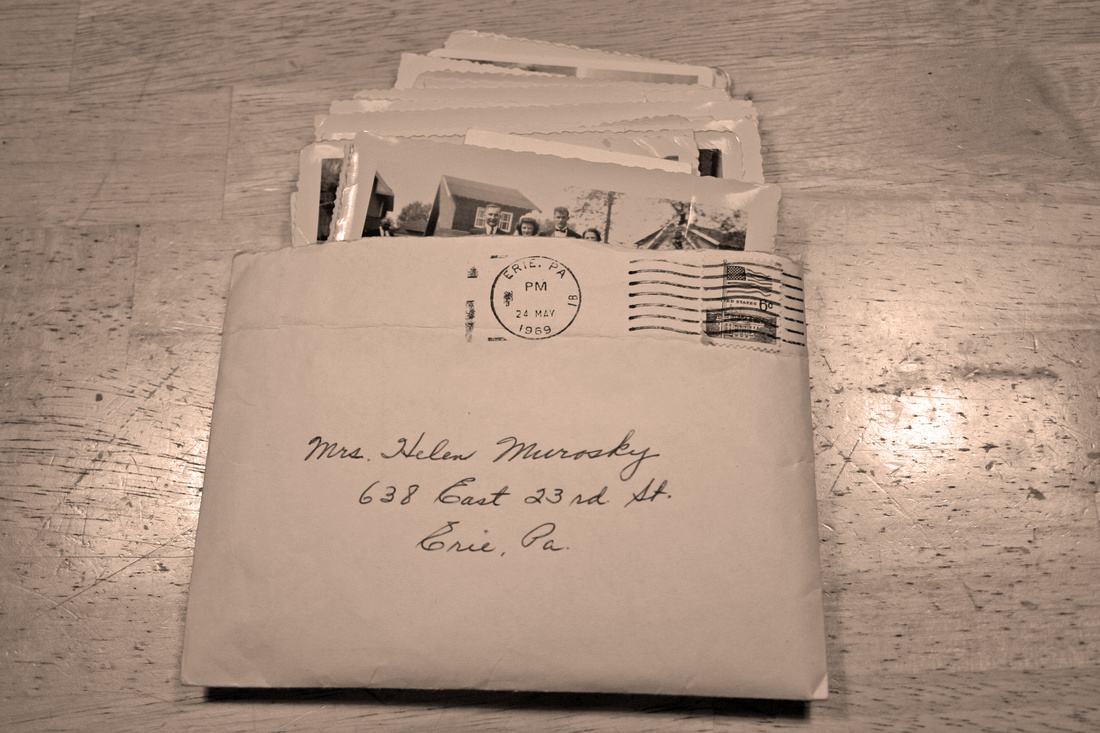 |
| Move from old photographs stored in envelopes to photographs sleeved and placed in archival storage boxes. |
The use of dividers can also allow you to take another step
– separating the photographs by family, event, ect.
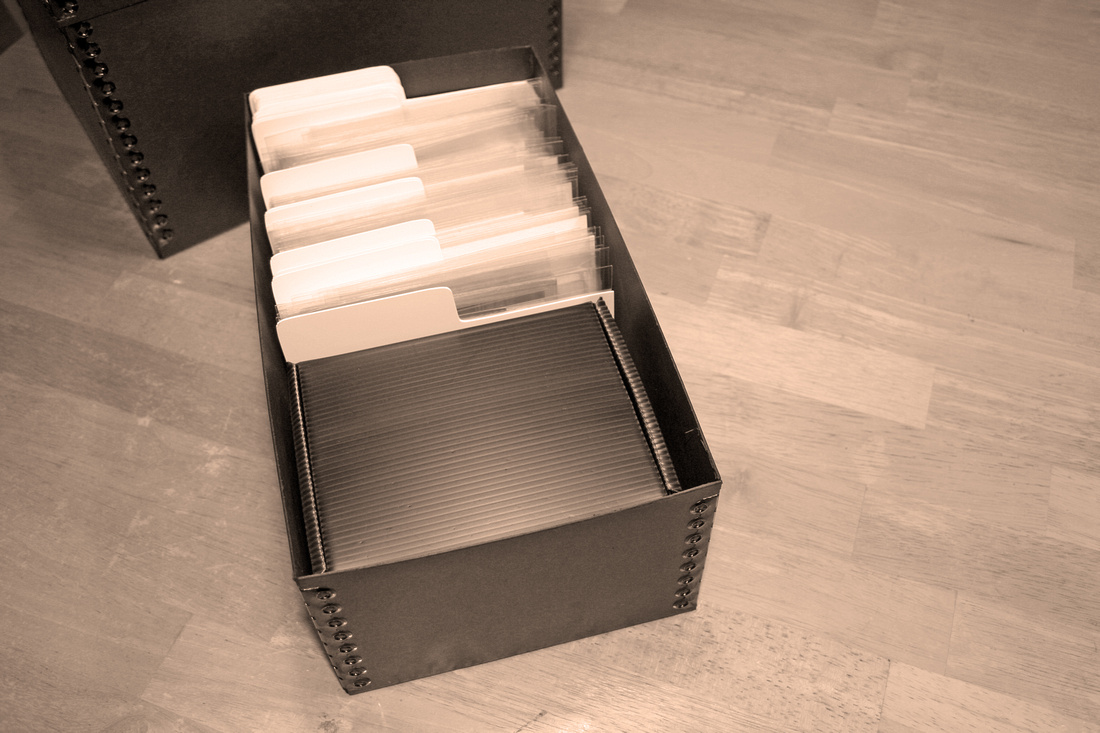 |
| The 4x6 storage box with photographs placed in polypropylene sleeves and stored on end. |
Storage
It is important to store photographs in the correct
conditions. Old photographs can be
damaged by exposure to light, moisture and temperature variations. It is not
recommended to store old photographs in unconditioned spaces – basements and
attics. The photos should be stored in climate controlled areas – for example a
closet in a heating and air-conditioned portion of your home.
Display
If you have what you believe is an original or the only copy
of an old photograph it is recommended that a copy be made for display and the
original properly stored. Over time continued exposure to light can damage old
photographs. Additionally – over time
photographs can bond to glass if displayed in frames.
Very old photographs like Daguerreotypes, Ambrotypes and
Tin Types should be re-photographed and the original stored where it is not
exposed to light.
If you have old photographs in original frames such
as the oval frames popular in the 1920’s consider hanging the original in a
location where the photograph will not be exposed to direct sunlight. Old photographs in original frames can also
be photographed in their frames using the steps discussed in Step 1: Create a Digital Image.
There are other helpful tips about care and storage of photographs
available at this link.
The review of the Bags Unlimited products was done at my discretion. Our Ancestors - The Murosky &
McDonald Ancestral Lines did not receive any compensation for providing a
review of products.