To
bring the original family portraits and snapshots into the digital realm there
are several steps that I follow. A series of blog posts will explain the workflow that is used for the Portraits of a Life project.
Step
1: Create a Digital Image
Step
2: Archive the Original Image
Step
3: Preliminary Sort
Step
4: Edit, Enhance & Restore
Step
5: Identification
Step
6: Finalize Organization
Step
7: Share
The
first of many steps in this process is to create a digital image of the
original photograph. Creating a digital image is important for several reasons.
The first is if the original is ever lost or damaged a copy of the photograph
can live on. Every year natural disasters occur and houses burn down. With
careful planning you can ensure that a natural disaster or other incident does
not destroy the only copy of family photographs. Respected author Dick Eastman discusses this
topic in detail in his article Suggestion: The Time to Digitize Historic Items is NOW
The
second reason for creating a digital image is the opportunity to share these treasures.
The digital images can distribute to family
members. Many genealogists are bringing their online family trees to life by
including images of their ancestors. Family trees are no longer limited to facts
and figures. The images can also be printed in family history books as I have
opted to do. Copies of images can also be displayed in frames without having to
worry about damage to the original.
There
are a few methods that can be used to do create a digital image – taking a
photograph of the original or using a high resolution scanning. If you are interested in archival photography
Gary W. Clark has written a great guide called Archive Photography: How to photograph oversize photos, curled documents, and heirloom treasures. Some
tips for creating digital versions of the original visit this link.
After
some experimenting with both photography and scanning - the method I have opted
to use is taking a photograph of the original. I opted to photograph the
original for a few reasons. The first – I felt the resolution was much better. The
second – higher resolution was achieved in less time. The third – the most flexibility for future sharing and printing. This method allows the original
image to be printed at a larger size. A scan will only allow the original to be reproduced at the same size.
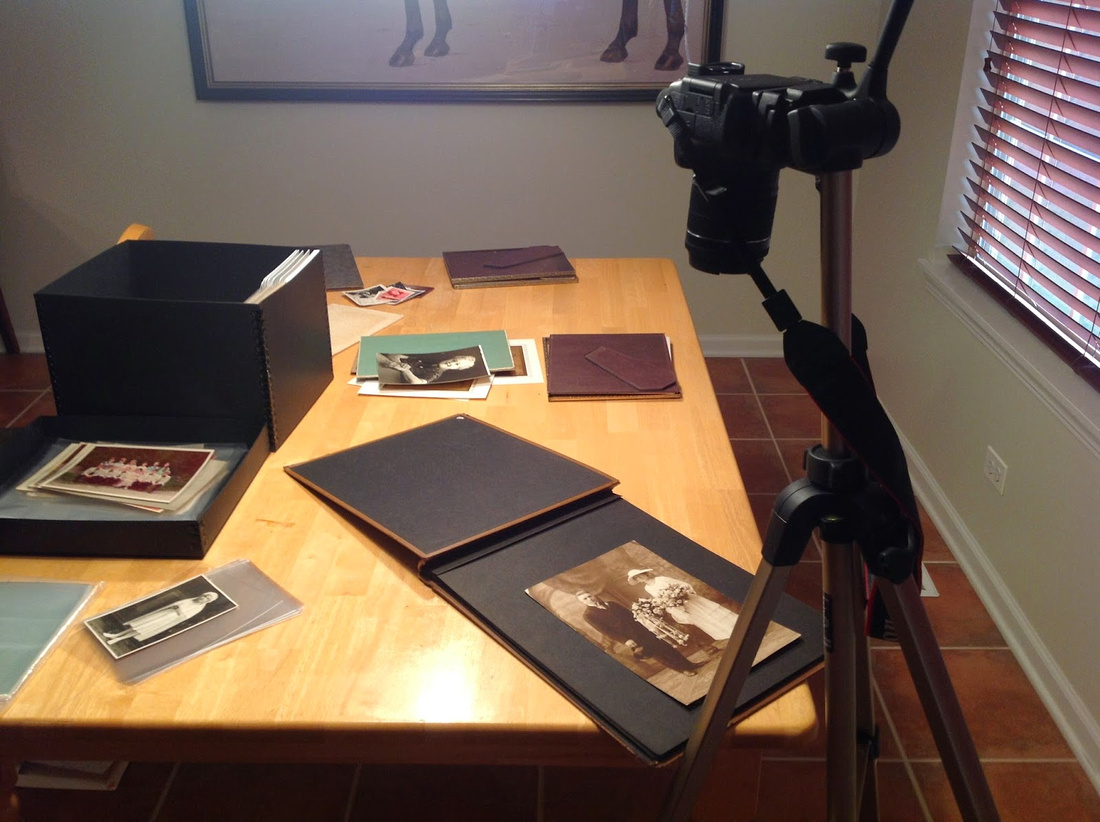
This
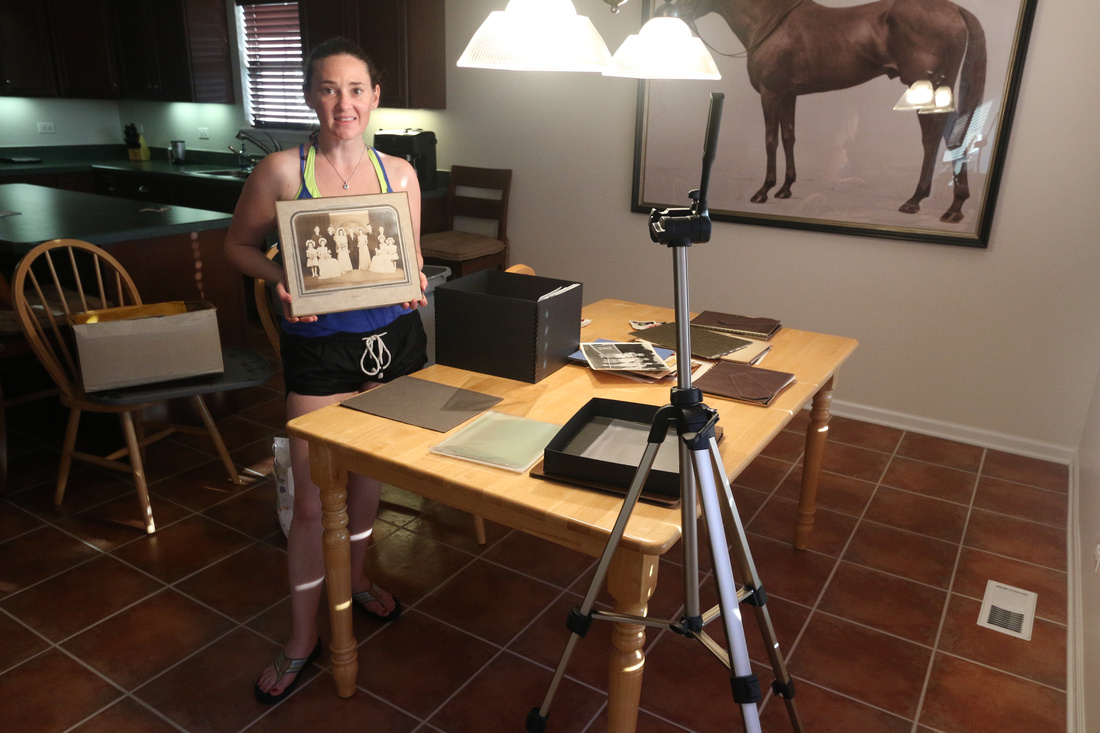
process works best when done with a partner. My husband assists me with this
step. He operates the camera and
I place the images in range on the view finder. We use an old photo album with a black page as the background.
HERE
HERE
|
| A two person process makes it go faster. I am holding my grandparent's wedding photo. |
|
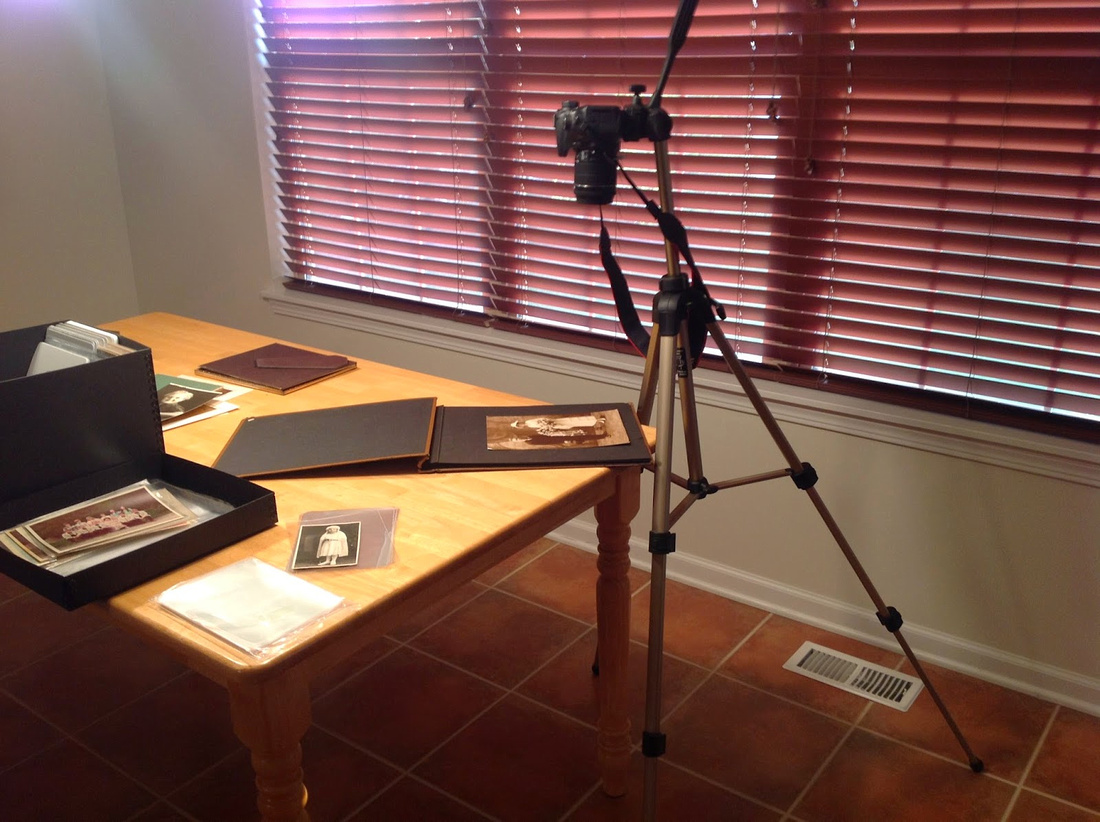
Digital SLR Camera mounted on tripod.
Digital SLR Camera mounted on tripod.
The goal is to fill the view finder with the image. Filling the image with the view finder is important to ensure the image has the highest resolution possible.
Why
shoot in Raw?
A
Raw image preserves the largest range of information from the original image.
Using the Raw format the details from the original image can be picked up and
enhanced. The raw format also provides the ability to increase the size of the
original.
In
the examples below the original image is approximately 4 inches x 3 inches. The
printed size of the book is a 12 inch x 12 inch page. The original photograph
is shown with the same image printed in the book. In these examples the printed
image was double the size of the original while maintaining resolution.
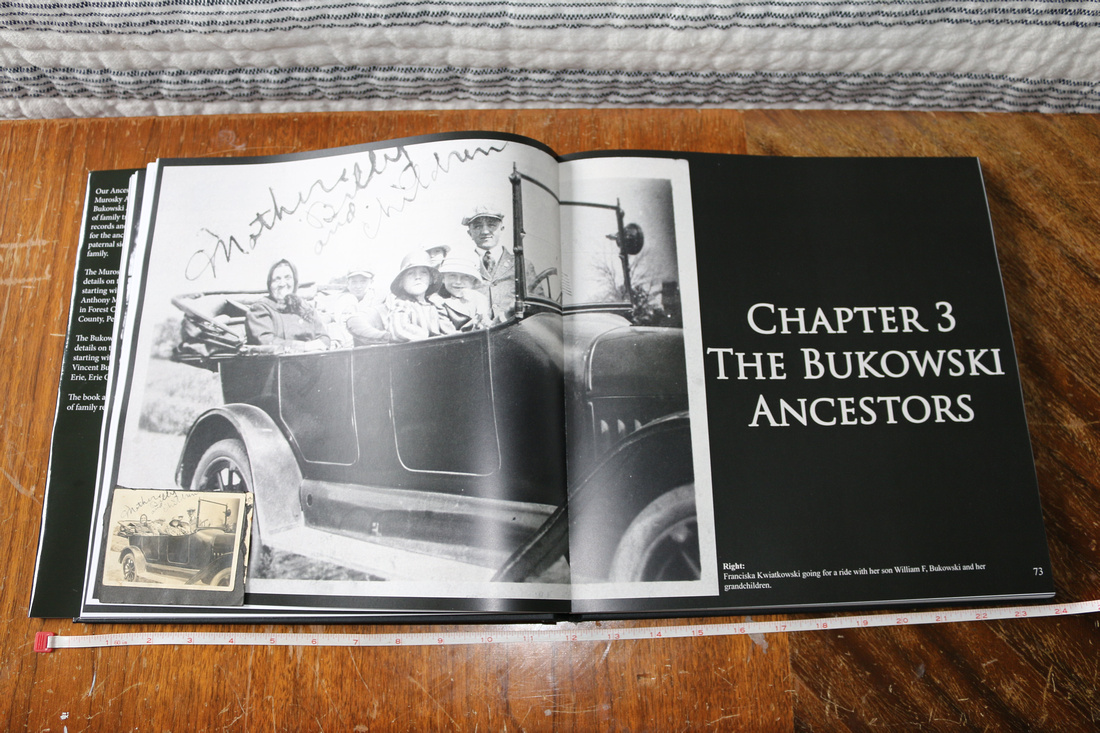 |
| Original image 4x3 - Printed book page is 12x12 |
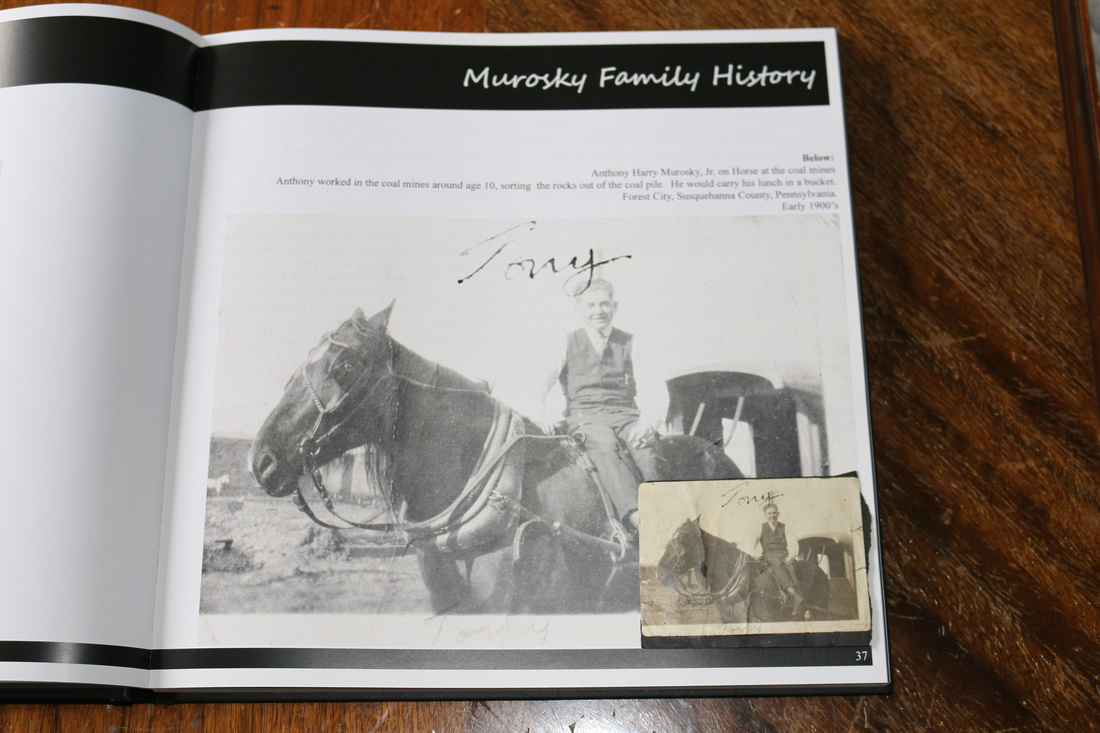 > > |
Original image 4x3 - Printed book page is 12x12
Opting
to shoot in photograph the original images does require more steps to produce an image that can be used
for sharing and printing. The additional steps will be detailed in future blog posts.
What
is most important is that if you find the method that works the best for you.
If you have priceless family photos – make a digital image to preserve the original.
No comments:
Post a Comment