To bring the original family
portraits and snapshots into the digital realm there are several steps that I
follow. A series of blog posts will explain the workflow that is used for the
Portraits of a Life project.
Step 4:
Edit, Enhance & Restore
Step 5:
Identification
Step 6:
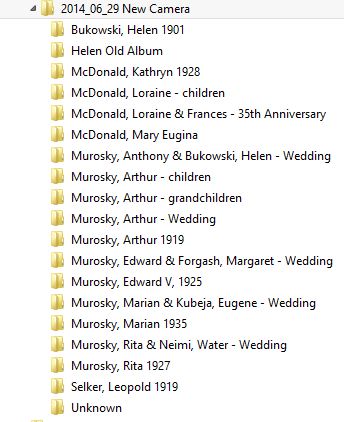
Finalize Organization
Step 7:
Share
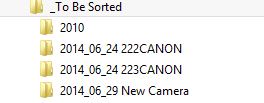
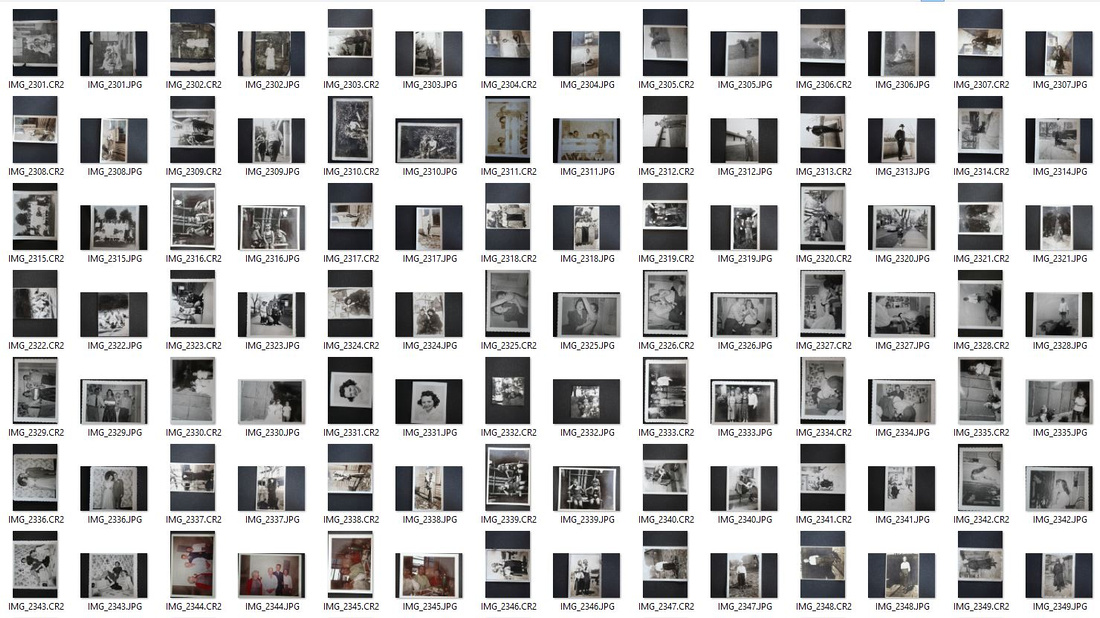
If you are working to process a lot of digital images it is helpful to create a work plan. This is where Step 3: Preliminary Sort is helpful. The purpose of Step 3 is to provide overall perspective on what photographs you have digitized. Understanding what you have helps you make a work plan to move forward. In my workflow I am working to edit the oldest photographs in my collection first. These include tin type photographs from the 1800’s and the photographs from my great grandmothers' collections. Once I have edited the older images I will begin to edit the photographs of the younger generations.
Your workflow priority will be a function of what images are in your collection and your archive goals. Making a work plan makes Step 4 less overwhelming. The ultimate goal is to break your archive project down into a series of small steps so that you can reach the ultimate goal of sharing your heirloom photographs.
I edit my images Adobe Photoshop version CS5. Note that some menus and Adobe references may not be the same in newer versions. When I make edits I typically work in the preliminary sort directory. For more details see Step 3: Preliminary Sort.
I have made the decision to edit all of my images to commercial printing standards. This will ensure if I opt to print these images in the future the images are properly formatted. There is a difference between viewing a picture on a screen and a commercially printed image. The CMYK commercial printing processes blends four colors Cyan, Yellow, Magenta and Black together to produce a range of color. If black and white images are not prepared correctly the images may appear tinted when printed.
When I started working on my family history book a few years ago I developed my workflow based on Blurb’s advice to produce black and white images for the commercial printing process. Blurb is the commercial printing company I have opted to work with for printed family tree books. The company offers quality professional products that can be ordered in single quantities.
The workflow also produces images that can also be printed successfully at larger scales. For examples of photos reproduced in this workflow view my family tree book Our Ancestors The Book: Volume I: The Murosky and Bukowski Family History. The blog post Step 1: Create a Digital Image also shows comparisons between the original images and the reproductions.
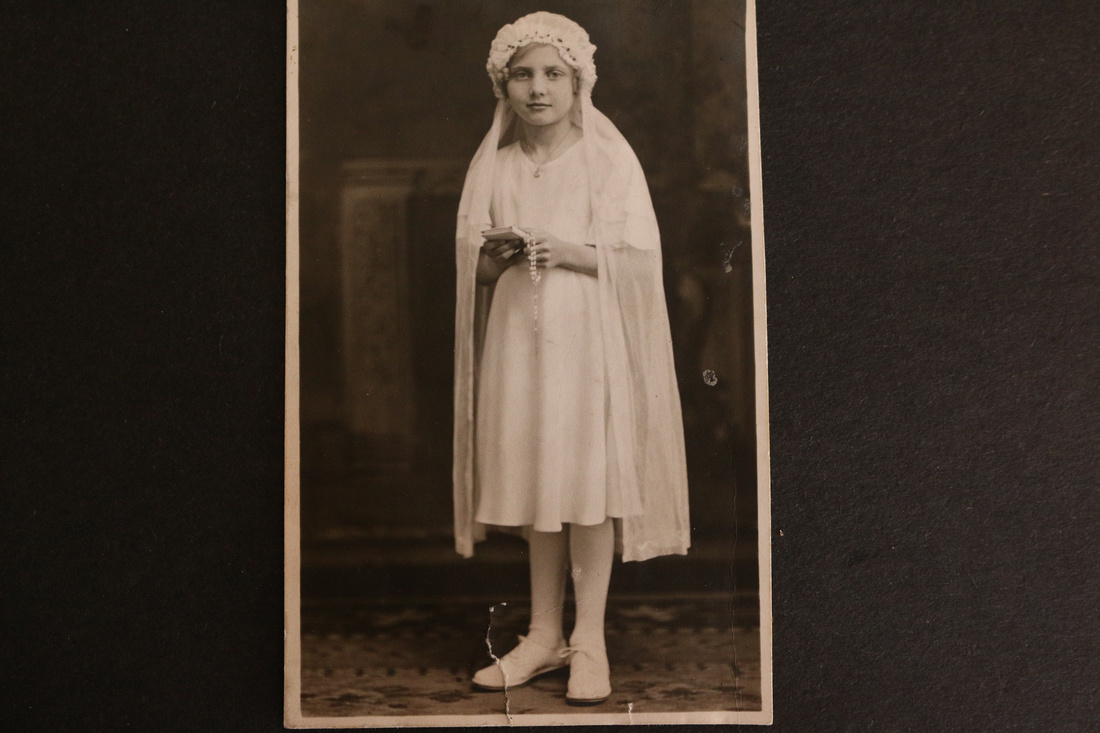
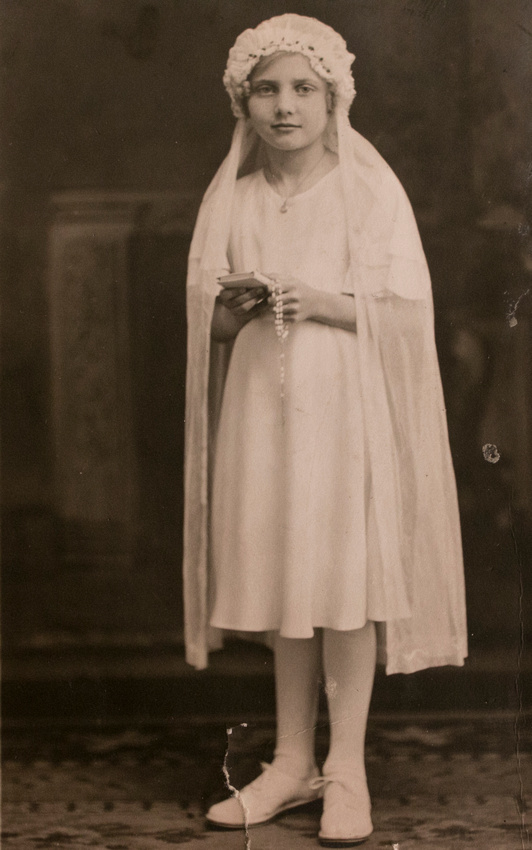
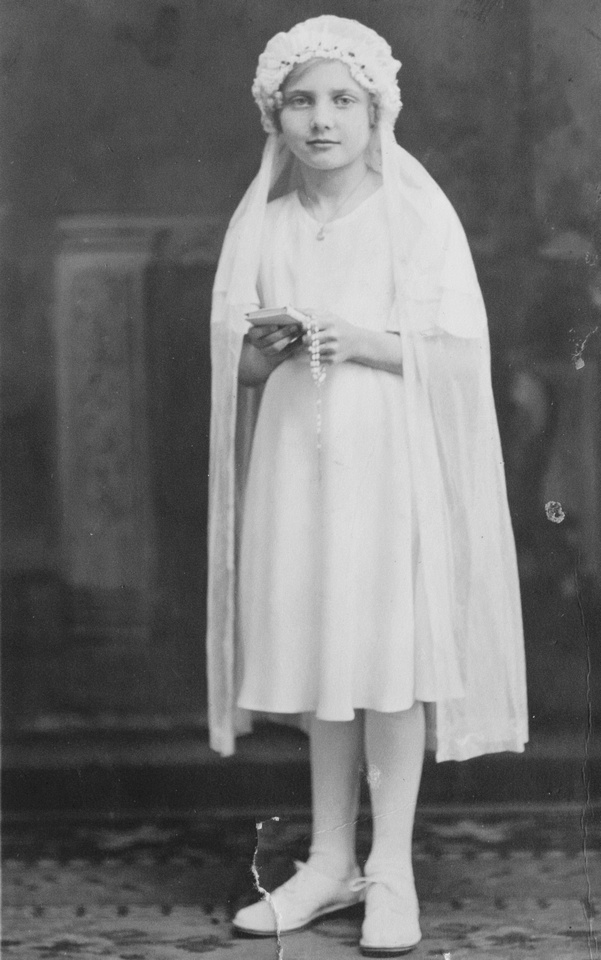
To explain the steps in my workflow to edit, enhance and restore the old photographs I will walk you through an editing example. This is a first communion photograph of my great grandmother Helen Tillie Bukowski, This image previously unknown to most of my family was included in the large collection of photographs I obtained this spring.
1. Open the raw image or the digital negative in Adobe Photoshop
If you took raw images in Step 1: Create a Digital Image you will have a raw image and an additional image file. The raw image will have the file extension .raw. .
Note that the .raw files from some newer digital cameras will not open in older version of Adobe Photoshop. Adobe has a digital negative converter (DNG Converter) available for download. The DNG Converter allows .raw files to be converted to digital negatives which are .dng files. The .dng files can then be opened in Adobe Photopshop. I delete the .raw file after the conversation. These files can be large and take up a lot of space on your computer.
A preliminary edit screen will open with .raw and .dng images. I opt to not make edits in this screen and click “open image”.
 |
| The preliminary open screen in Adobe Photoshop |
 |
| The original image open in Photoshop before editing. |
2. Save a copy of the file as a Photoshop file
It is important to save a copy to maintain the original. You may want to reference the original at a later time or go back to the original if you are not happy with the first set of edits. To save a copy select the File menu, select Save As a popup window will open.
- Save In file location: Use the pull down menu to change the directory if needed.
- File name: This field will be populated based on the original image. When I am working I use the same name with different file type extensions. This keeps all of the images together.
- Format: Select Photoshop from the options
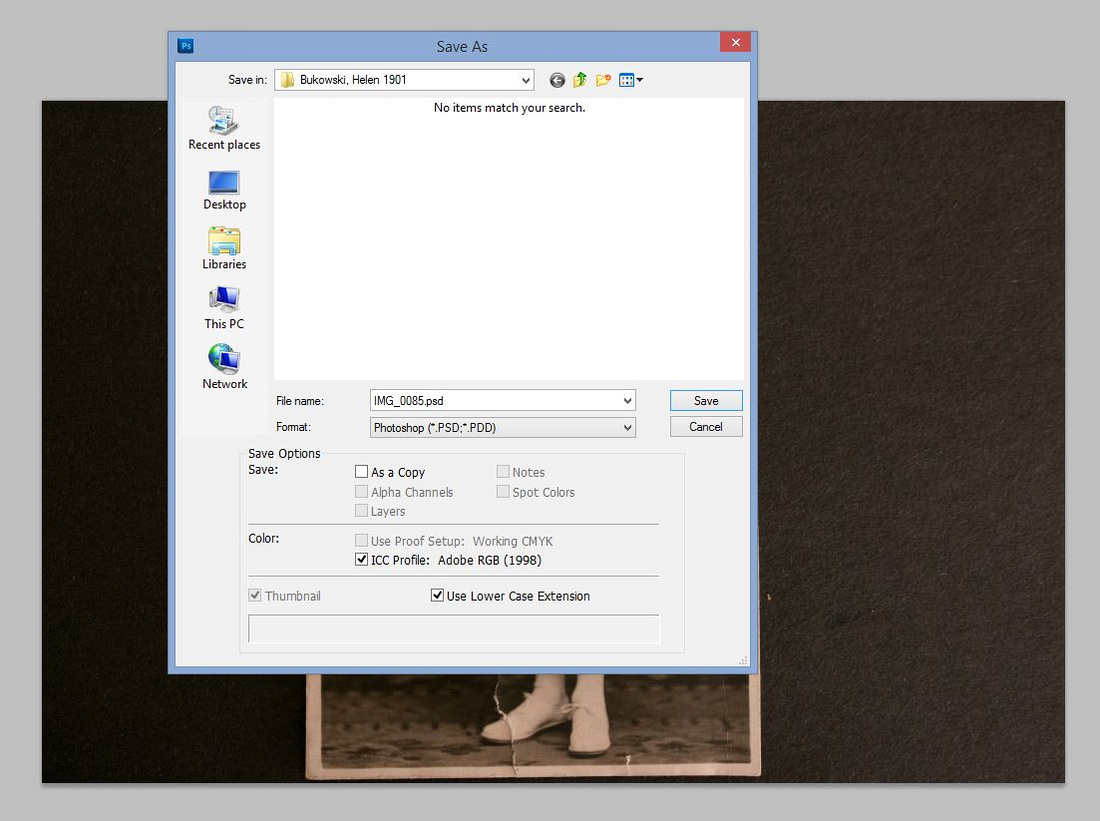 |
| The Save As window in Adobe Photoshop |
When the original image was re-photographed the camera captured the background in addition to the original image. .
If an image is obviously crooked I will rotate the image before cropping. If I am not sure how far off the image is I will select the crop tool from the menu and select the crop zone shown in the white outline below. The crop zone can be viewed without completing the crop. Using the ESC key on your keyboard allows you to undo the selection. If you do crop and wish to go back select the Edit menu, Step Backward to revert to the original image.
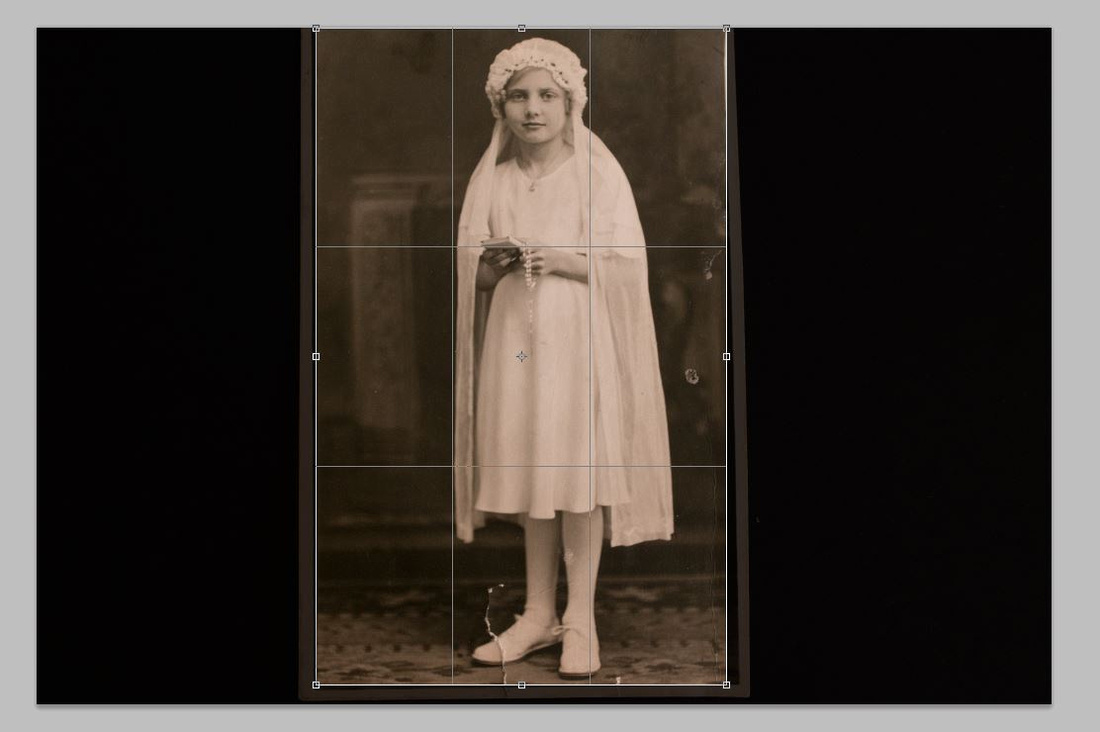 |
| A test of the crop zone to explore if image rotation is required. |
To rotate the image select the Image
menu, select Image Rotation, Arbitrary… This
option brings up a menu which allows the rotation angle and the option for CW
or CCW. I will often use a small angle for example 0.1 and rotate a few times
to achieve the rotation needed. Every image is different.
As you can see from the image below more of the original can now be captured based on the slight rotation. To complete the crop. Select the Crop
tool again, highlight the crop zone and click enter on your keyboard. The
cropped image will now be displayed.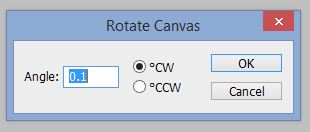 |
| The Adobe Photoshop rotation screen that opens after selecting the Image menu, select Image Rotation, Arbitrary… |
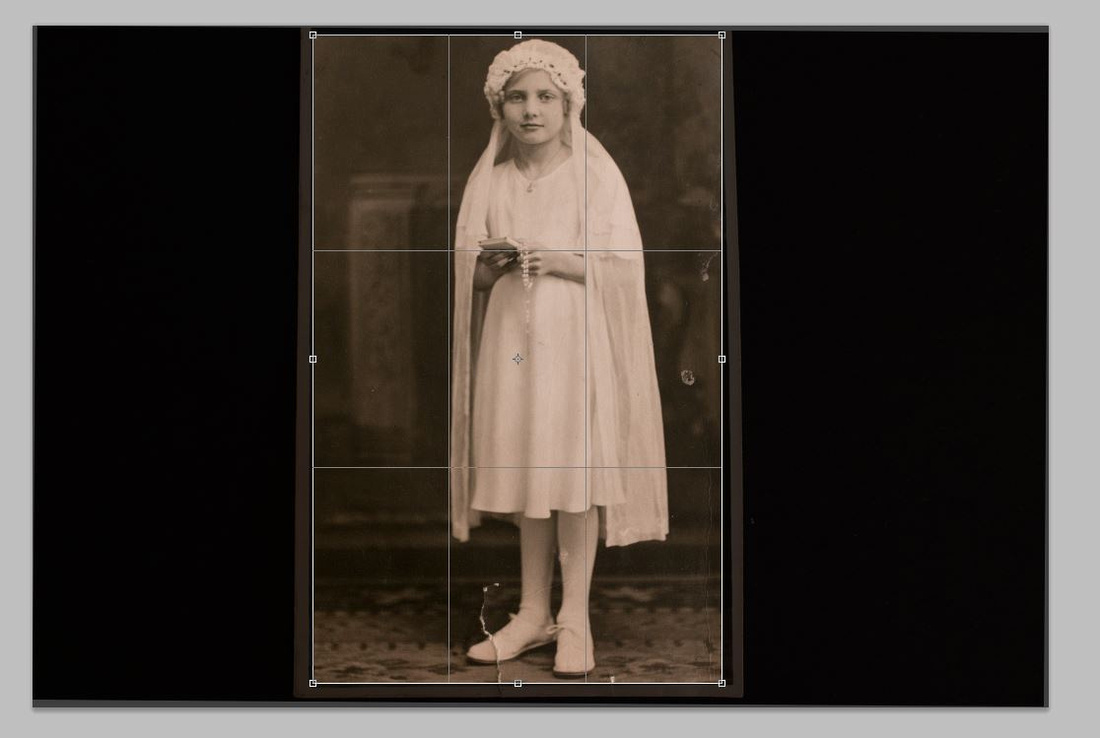 |
| Crop zone shown on rotated image. |
 |
| The cropped image. |
4. Convert the image Black and White
The conversion to Black and White is the part of the process that ensures the image will print correctly in a commercial printing process. Select the Image menu, Adjustments, Black and White. This option will open the black and white menu. The preset option has different black and white filters. Select the top filter – “Blue Filter” and then use the down arrow on your keyboard to pre-view your image with the different filter options. Choose the option which adds the most clarity your image but does not wash out the image. I have found the “Green Filter” works well on many old photographs to capture the details. However it depends on the particular image. After selecting the filter option you like click okay to apply the filter.
Note that if the old photograph is colorized I skip this step.
 |
| Convert the image Black and White. Example of a Blue Filter. |
Note the difference between the blue filter (above) and the green filter (below). In this example the green filter brightens the image and enhances the background while maintaining the details.
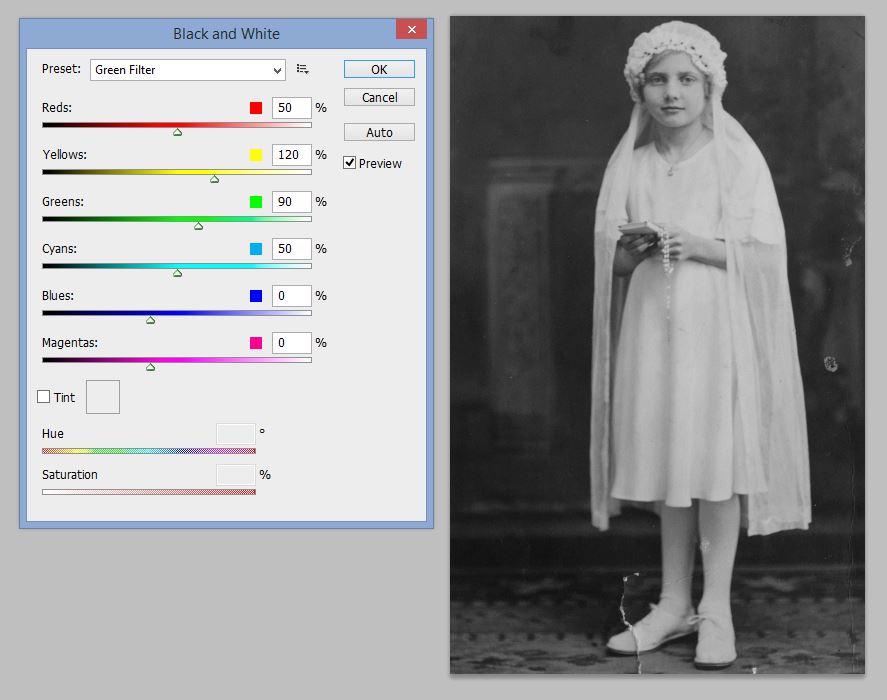 |
| Convert the image Black and White. Example of a Green Filter. This is the option I selected. |
5. Check the Shadows/Highlights
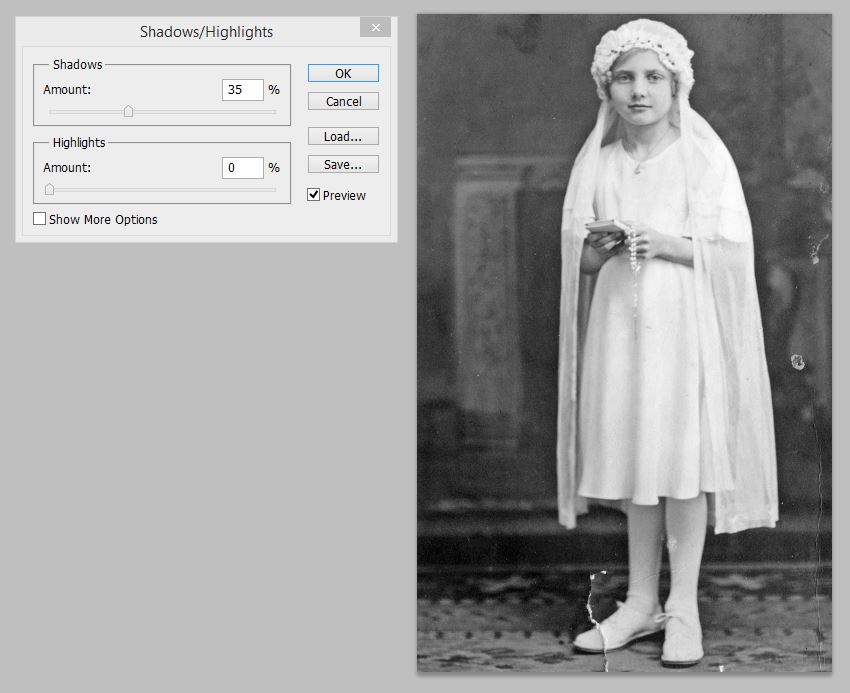
Some old photographs appear very dark and have a lot of shadows. Photoshop has an option to remove the shadows from an image. Select the Image menu, Adjustments, Shadows/Highlights. Photoshop will automatically adjust the shadows in the image. The sliders can be adjusted as well. The preview of the image will be shown. To keep the changes select ok. If you don’t want to keep the adjustment select cancel.
Some images will clean up nicely with this option and others will appear grainy or over processed. For the particular image I have opted not to use this adjustment. When editing I may test this step on an image. If I don’t like the edit I won’t choose this option.
 |
| Check the Shadows/Highlights |
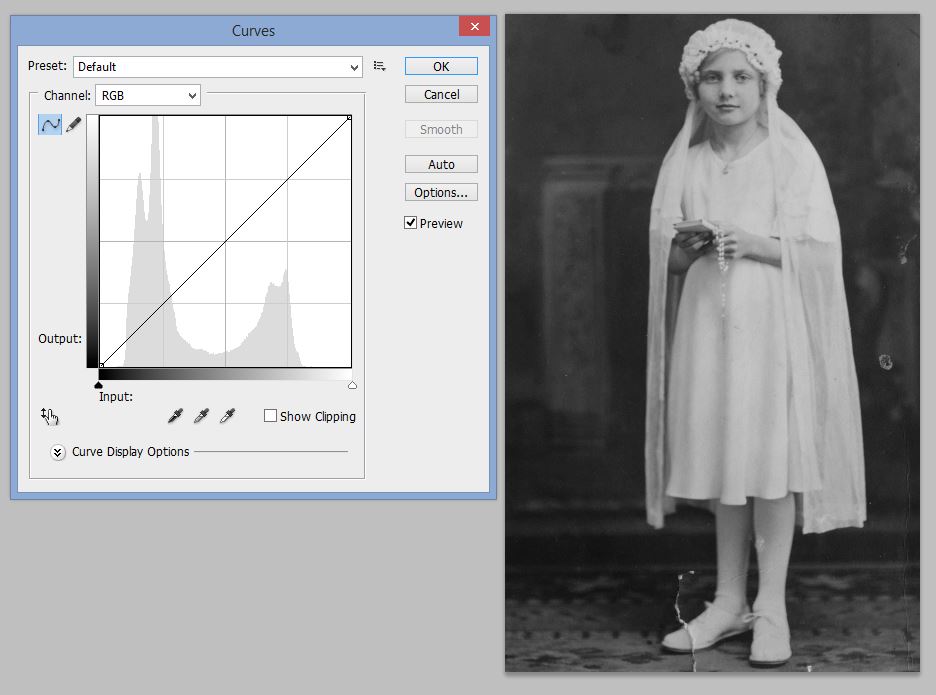
6. Adjust the Curves
Changing the curves can enhance and sharpen the image. This adjustment can often add clarity. To adjust the curves select the Image menu, Adjustments, Curves… The curves menu is similar to the Black and White menu. Selecting the top option and using the down arrow on your keyboard will allow you to pre-view the different options. Working through the different options will enhance different elements of the photograph – some options brighten, some darken and some sharpen. The solution is unique to the image. In most examples I have found the pre-set curves have worked well to enhance the old photographs. Occasionally I will tweak one of the pre-set curves manually. The curves can also be manually adjusted by selecting the box in the graph and moving it.
Changing the curves can enhance and sharpen the image. This adjustment can often add clarity. To adjust the curves select the Image menu, Adjustments, Curves… The curves menu is similar to the Black and White menu. Selecting the top option and using the down arrow on your keyboard will allow you to pre-view the different options. Working through the different options will enhance different elements of the photograph – some options brighten, some darken and some sharpen. The solution is unique to the image. In most examples I have found the pre-set curves have worked well to enhance the old photographs. Occasionally I will tweak one of the pre-set curves manually. The curves can also be manually adjusted by selecting the box in the graph and moving it.
 |
| Adjust the Curves - default image |
The above image is the default image before applying curves. In this example I opted to use lighter (shown below) as this option balanced out the darker background. It also did not wash out her face or loose detail in her dress. Some of the additional shadows have been removed.
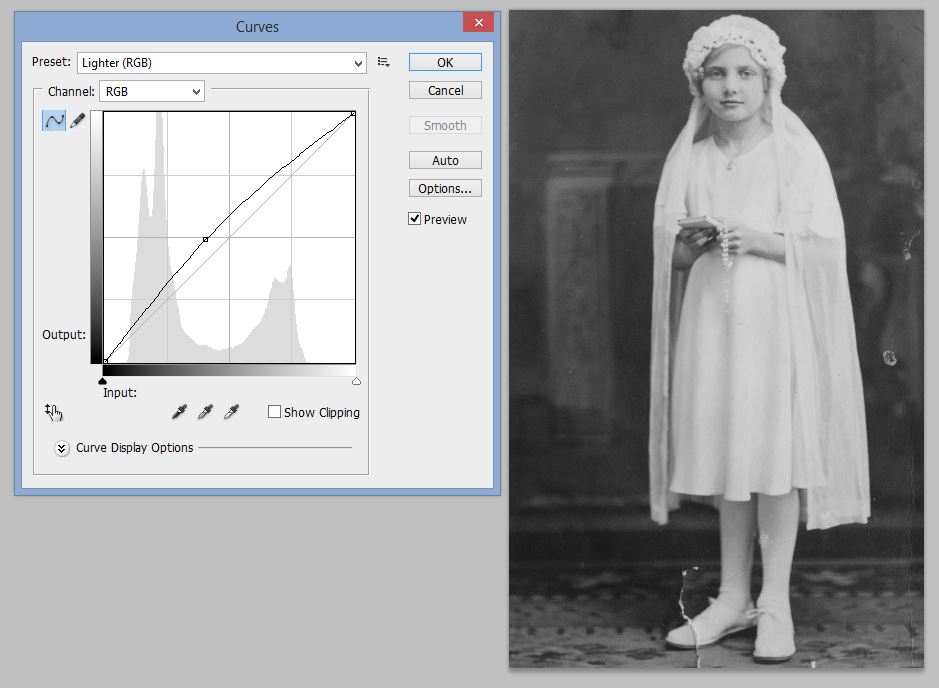 |
| Adjust the Curves - Lighter (RGB). The option selected. |
In cases where the original image is very dark after performing the above steps I will also explore exposure adjustments. To access the exposure tool select he Image menu, Adjustments, Exposure… The exposure and the offset can be adjusted using the sliders or by changing the number in the white box. Note that the changes in exposure can easily washout out black and white images. I tend to only use this option if the image still appears dark after checking the Shadows/Highlights and Curves. Most images can be enhanced without adjustments to exposure.
7. Final Edits
Depending on the image some spotting and discoloration may have been repaired by completing the above steps. Some spots or damage may still be present. These imperfections can be removed using different tools. The Spot Healing Brush Tool is one tool I use to remove spots and repair damage from the images. I will typically adjust the size of the spot healing tool based on how large the spot is. I have found working to the size of the spot results in a cleaner final image. Depending on how much you are cleaning up this step can more or less time. There are several other tools in Adobe for making repairs to old images. When done correctly the spots or damage will no longer be noticeable.
Depending on the image some spotting and discoloration may have been repaired by completing the above steps. Some spots or damage may still be present. These imperfections can be removed using different tools. The Spot Healing Brush Tool is one tool I use to remove spots and repair damage from the images. I will typically adjust the size of the spot healing tool based on how large the spot is. I have found working to the size of the spot results in a cleaner final image. Depending on how much you are cleaning up this step can more or less time. There are several other tools in Adobe for making repairs to old images. When done correctly the spots or damage will no longer be noticeable.
Left image before final edits. Right image after final edits.
8. Apply a Sepia Filter
The final step is to apply a sepia filter to the image. Applying a sepia filter also gives the image some warmth. A sepia filter also helps to balance out the images when printed. To add the sepia filter select the Image menu, Adjustments, Photo Filter… Select Sepia from the pull down options. The slider can be adjusted to enhance the filter if desired.
The final step is to apply a sepia filter to the image. Applying a sepia filter also gives the image some warmth. A sepia filter also helps to balance out the images when printed. To add the sepia filter select the Image menu, Adjustments, Photo Filter… Select Sepia from the pull down options. The slider can be adjusted to enhance the filter if desired.
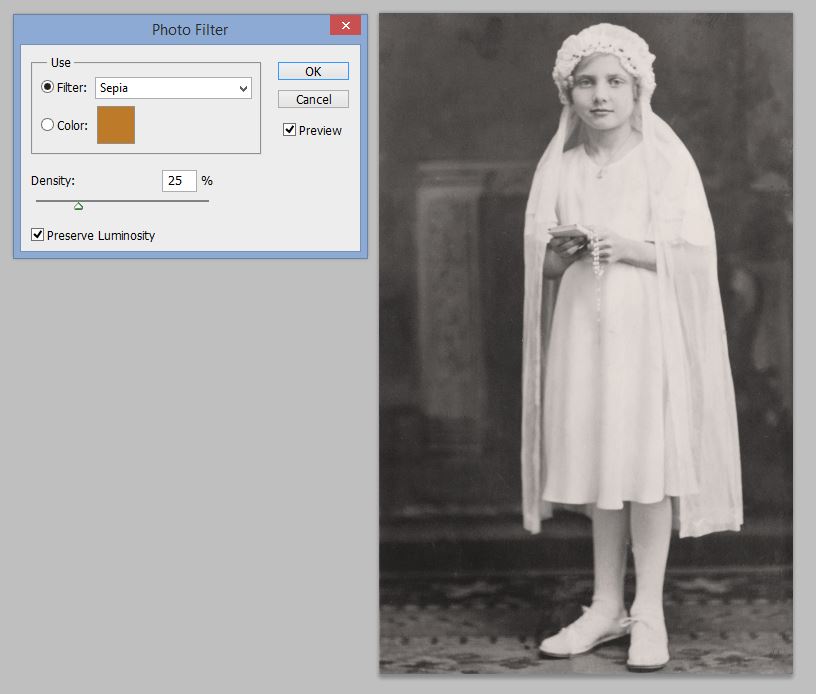 |
| The Adobe Photoshop Photo Filter Screen |
9. Save a high resolution copy
After completing my edits I save my work.I also save a high resolution copy of the image in .tiff format. To save a copy select the File menu, select Save As a popup window will open. Under Format select the option for TIFF (*.TIF, *.TIFF). A .tiff file will be a high resolution image that can be used for printing.
After completing my edits I save my work.I also save a high resolution copy of the image in .tiff format. To save a copy select the File menu, select Save As a popup window will open. Under Format select the option for TIFF (*.TIF, *.TIFF). A .tiff file will be a high resolution image that can be used for printing.
|
| A review the Original Image before Edits. |
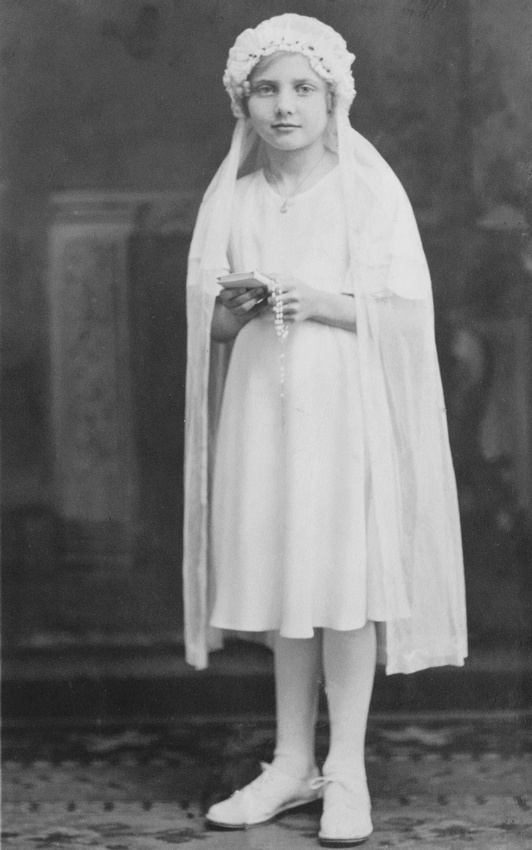
 |
| The final image after Editing, Enhancing & Restoration. Our Ancestors - The Murosky & McDonald Ancestral Lines did not receive any compensation for providing a this workflow using Adobe Photoshop. Our Ancestors - The Murosky & McDonald Ancestral Lines did not receive any compensation for recommending Blurb commercial printing services. |